How to Photograph the August 12, 2026 Total Solar Eclipse
This article contains affiliate links. If you buy through them, ORIVON may earn a commission at no extra cost to you.
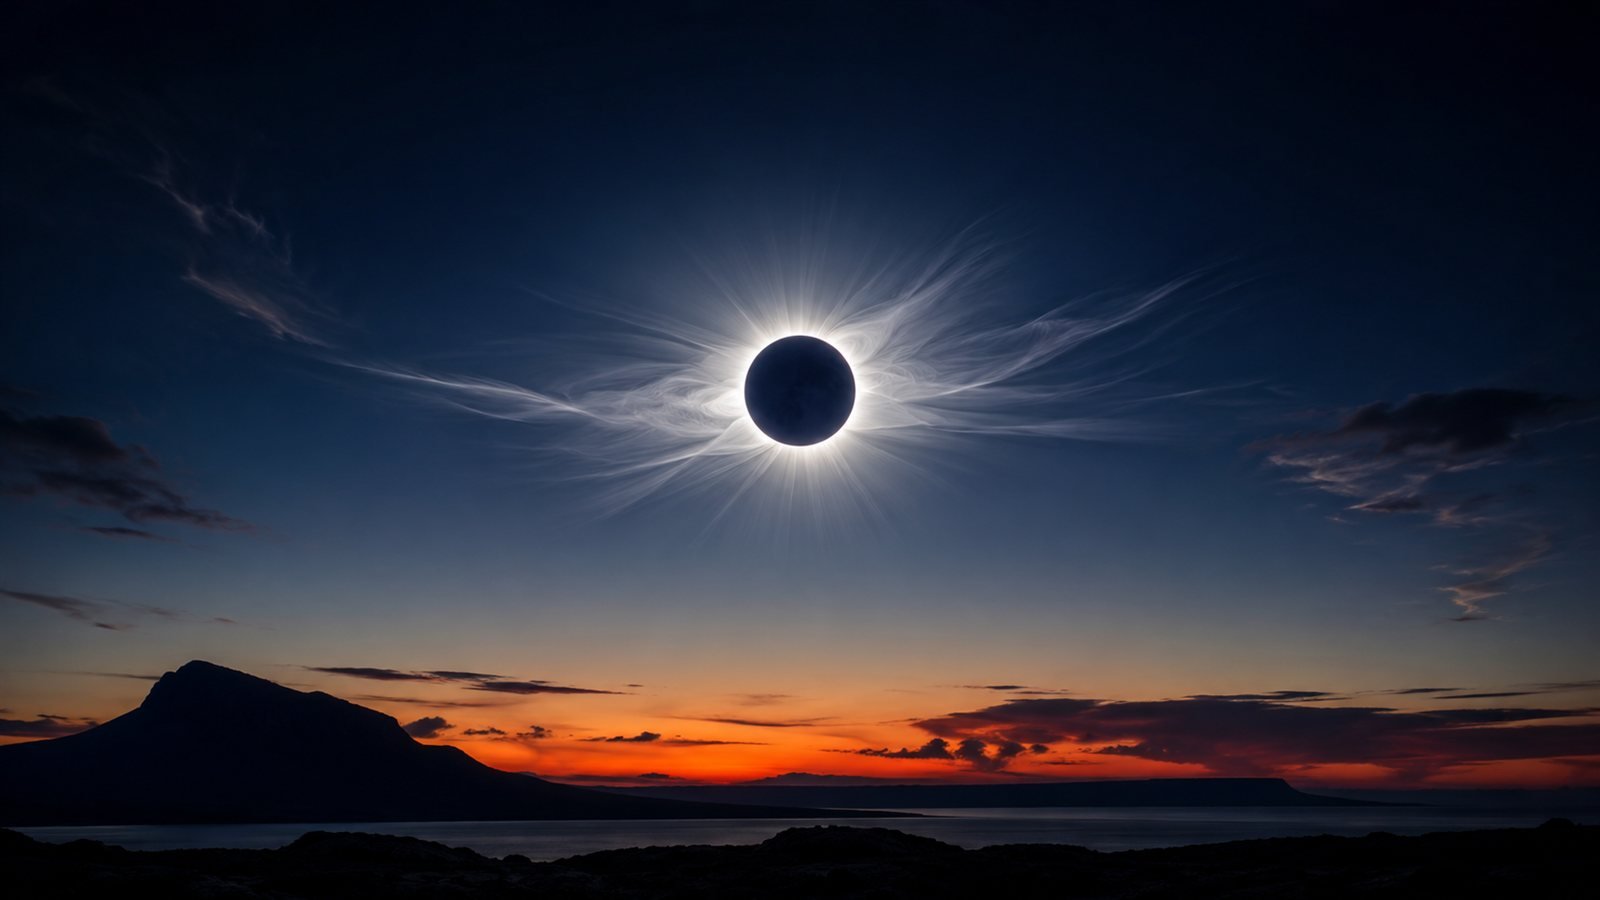
Editorial illustration: ORIVON. Not a photograph of the August 2026 eclipse.
The August 12, 2026 eclipse has already taken place. The camera technique below — filter safety, settings, lens choice — is evergreen and applies to photographing any future total solar eclipse. See ORIVON's recap for what happened on the day.
The August 12, 2026 eclipse gave photographers less than two and a half minutes of totality at best — and under two minutes from most locations along the path. There was no reshoot. That combination — genuinely rare, genuinely unforgiving of fumbled settings — is what made it worth preparing for properly, whether shooting with a dedicated telephoto rig or a phone.
None of what follows requires new gear. It requires knowing your camera, testing your filter beforehand, and having a plan simple enough to run on autopilot when the sky actually goes dark. The technique below applies to any total solar eclipse; for the specifics of where this particular eclipse was total or partial, see ORIVON's archived August 2026 eclipse guide.
During every partial phase, a camera, telescope or binoculars needs a solar filter specifically designed for optics, mounted and secured over the front of the lens or telescope — never at the eyepiece or behind the glass, where concentrated light can burn straight through it.
This is a different device from eclipse glasses. Eclipse glasses and handheld solar viewers are built for direct, unaided viewing — not for holding in front of a camera, telescope or binoculars. Looking through an optical device while wearing eclipse glasses does not make it safe; the concentrated light gathered by the lens can burn through a filter designed only for the naked eye.
- Never use sunglasses, photographic ND filters, smoked glass, exposed film, or a homemade filter of any kind — none of them block enough infrared and ultraviolet light.
- A solar filter for optics should come from a manufacturer that specifically makes products for solar viewing or imaging.
- The filter can only be removed during complete totality — the brief window when the Sun's bright disc is fully covered — and only if you are physically standing inside the path of totality.
- The moment any bright sliver of the Sun reappears, the filter goes back on immediately.
- Outside the path of totality, the filter never comes off, for the entire event.
If you're new to this, don't try to time the removal of your filter to catch Baily's beads or the diamond ring effect a few seconds early. Protecting your eyes, your sensor and your equipment always comes first — even if that costs you a shot.
Quick Eclipse Photography Checklist
- Camera or smartphone
- A solar filter sized correctly for your lens or telescope's front aperture
- Sturdy tripod
- Remote shutter release or self-timer
- Fully charged batteries, plus a spare
- Formatted, empty memory cards, plus a spare
- A lens-cleaning cloth
- ISO 12312-2 certified eclipse glasses for the photographer, for looking at the sky directly
- Local eclipse timing saved offline
- At least one practice run with your exact filter, lens and camera before eclipse day
Plan the Shot Before Eclipse Day
Confirm your location and its exact local timing using an official interactive map — ORIVON's eclipse guide links directly to the NASA and Time and Date tools for this. Know specifically whether you're inside or outside the path of totality; the difference determines whether you'll ever remove your filter at all. Check the Sun's direction and height in the sky at the relevant time — in Spain, the eclipse happens low over the western horizon near sunset, so a genuinely unobstructed view west matters more than it would for a midday eclipse. Scout your horizon for buildings, trees or terrain that could block the shot. Watch the forecast in the days before, and have a backup location in mind if clouds move in. Plan to arrive early — parking and foot traffic near popular viewing spots can back up fast — and don't rely on a single mobile data connection for last-minute checks.
Smartphone, Wide-Angle or Telephoto?
There's no single correct choice here — it depends on what kind of picture you actually want.
Smartphone
The easiest option to use, and often the best for capturing the landscape, the people around you and the overall atmosphere of the event. Without a telephoto attachment, the Sun itself will appear quite small in the frame. A phone still needs appropriate solar protection over its lens during every partial phase, exactly like any other camera.
Wide-Angle Lens
Best for landscape context — the horizon, the changing light, a sequence of frames showing the whole event unfold over the sky. Tracking the Sun's motion is far more forgiving at wide focal lengths, which makes this a lower-stress option if you're managing a tripod and settings for the first time.
Telephoto Lens
What's needed to resolve the solar disc itself, prominences and the corona in real detail. It also raises the stakes: a longer lens needs a sturdier tripod, more careful tracking as the Sun moves across the frame, more deliberate focus, and more practice beforehand. It's also where the risk is highest if a filter isn't properly matched and secured to the front element.
Recommended Focal Lengths
As a practical guide, not a promise of a specific result: focal lengths in the 24–50mm range keep the Sun small but hold the landscape and horizon in frame — useful for scene-setting shots and multi-image sequences. Something in the 300–400mm range starts to render a solar disc with visible size and some surface structure through a filter. Getting real definition in the corona during totality, or fine detail like prominences, typically calls for 800mm and up, whether from a long telephoto lens or a small telescope used as one. Crop-sensor cameras effectively extend a given lens's reach compared with full-frame — worth factoring in if you're deciding between the glass you already own.
Camera Setup
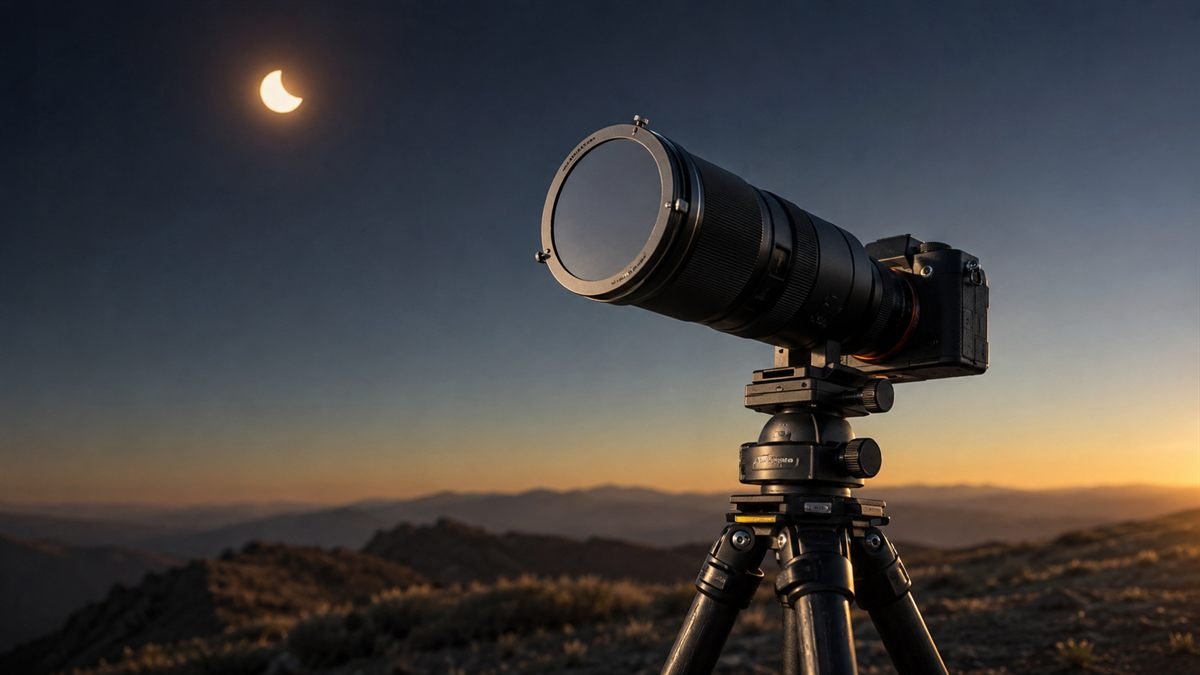
Editorial illustration: ORIVON. A front-mounted solar filter — never one at the eyepiece — is what makes a shot like this safe.
- Shoot in RAW, not JPEG, to preserve the most latitude for processing afterward.
- Use manual exposure — auto-exposure modes get confused by a mostly black frame with one small bright feature.
- Use manual focus, set and checked in advance (see the next section).
- Turn the flash off entirely.
- If you're on a tripod, turn off image stabilization if your system's documentation recommends it for tripod use — this varies by camera and lens, so check beforehand rather than assuming.
- Use a remote shutter release or a self-timer to avoid shaking the camera at the moment of exposure.
- Bracket your exposures — a range of shutter speeds around your baseline setting — rather than betting everything on one guess.
- Check your histogram occasionally to confirm you're not clipping highlights, but don't spend the whole event staring at a screen instead of the sky.
- Avoid fiddling with settings you don't need to change, especially once totality begins — every extra second spent in a menu is a second not spent watching or shooting.
How to Focus
Practice focusing on the filtered Sun before eclipse day — it's a genuinely different target than anything you've likely focused on before, and doing it for the first time during the event is a common way to lose sharpness on every frame. Use Live View or your camera's electronic magnification to fine-tune focus on the edge of the solar disc or a sunspot, rather than trusting autofocus. Once it looks sharp, lock focus if your camera and lens support it, or switch fully to manual and tape the focus ring in place. Recheck focus if the temperature shifts meaningfully or if the camera gets bumped — both can shift it slightly. Whatever you do, never look through an optical viewfinder at the Sun without an appropriate filter already mounted on the front of the lens; an electronic viewfinder or the rear screen avoids this risk entirely.
Starting Settings for the Partial Phases
These are conservative starting points for testing, not a universal answer — your actual exposure depends heavily on the specific filter you're using, so confirm it with your own camera and lens beforehand, ideally on an ordinary sunny day well before the eclipse.
| Setup | ISO | Aperture | Shutter Speed (starting point) |
|---|---|---|---|
| Filtered telephoto lens or telescope | 100–200 | f/8 | 1/500–1/4000s, bracket around this |
| Filtered wide-angle lens | 100–200 | f/8–f/11 | 1/500–1/2000s, bracket around this |
| Filtered smartphone | Auto or lowest available | Fixed by device | Reduce exposure manually if your camera app allows it |
Use the same ISO and aperture throughout the partial phases where possible, and adjust only shutter speed — it keeps testing simple and your bracketed sequence consistent.
Photographing Totality
This section only applies if you're physically inside the path of totality — everywhere else, the filter stays on for the entire event, with no exception.
As totality approaches, light drops quickly and unevenly in the final seconds before second contact. Resist the temptation to spend that stretch changing settings — have your plan ready beforehand instead. The instant totality begins, the filter comes off; this is the one window where the corona is visible and safe to photograph directly. Bracket a range of exposures: short exposures hold detail in the bright inner corona close to the Moon's edge, while longer exposures pull out the fainter, wider streamers of the outer corona — no single exposure captures both. Rather than improvising, prepare one or two simple presets ahead of time (for example, a short-exposure setting and a longer one) and step between them, instead of trying to design new settings live. Totality ends as abruptly as it begins — the instant any bright point of the photosphere reappears at the Moon's edge, the filter goes back on immediately.
What About the Diamond Ring and Baily's Beads?
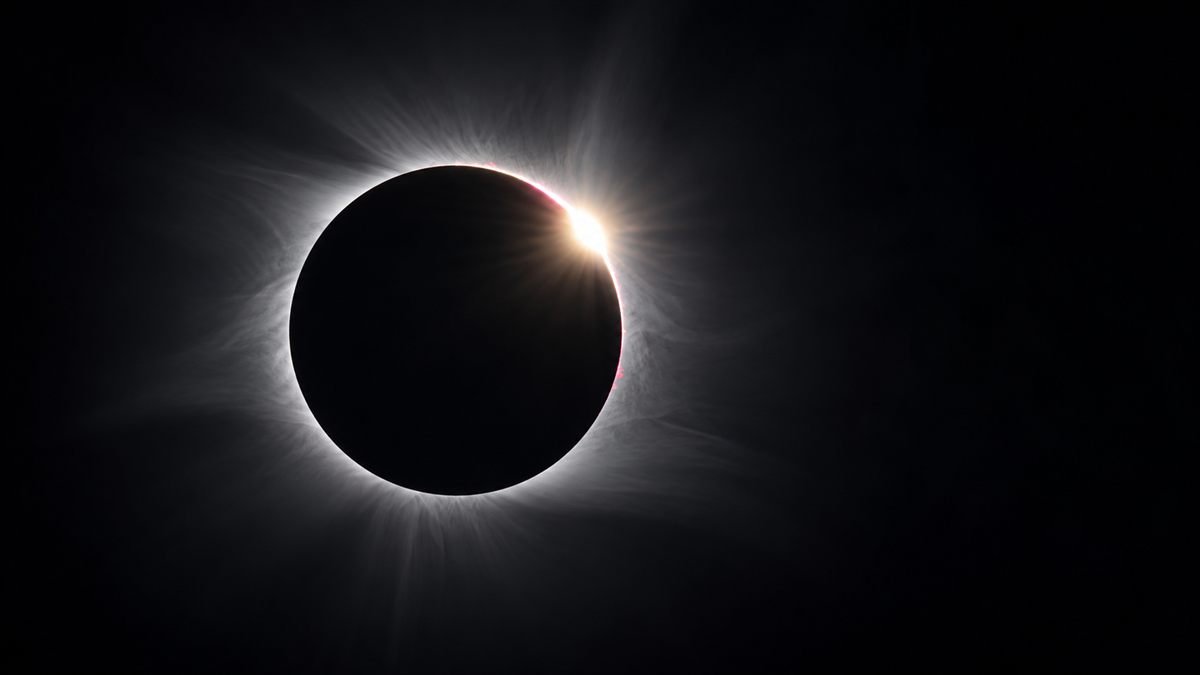
Editorial illustration: ORIVON. The diamond ring effect lasts only a few seconds, at the very start or end of totality.
Just before and after totality, sunlight passing through valleys on the Moon's limb can create a string of brilliant points known as Baily's beads, and — as the last or first beam brightens against the corona — the "diamond ring" effect. Both are genuinely striking, and both last only a few seconds. For anyone photographing their first eclipse, the safest approach is to prioritize the safety sequence over trying to time these transitions precisely: don't attempt to remove your filter early by manually counting down, and don't treat capturing these specific moments as more important than protecting your eyes and your equipment. If you get them, treat it as a bonus, not the plan.
How to Photograph the Eclipse With a Phone
- Frame the shot to include some landscape or horizon — it's usually more compelling than the Sun alone at native zoom.
- Lock exposure and focus using your camera app's tap-and-hold gesture, rather than letting it re-adjust every frame.
- Manually reduce exposure, since the phone's default metering will overexpose a small bright disc against a dark sky.
- Use a tripod or a stable surface — handheld shots amplify shake far more at longer virtual zoom levels.
- Use the self-timer to avoid shaking the phone at the moment of capture.
- Avoid pushing digital zoom too far; it magnifies noise and shake more than it reveals useful detail.
- Keep appropriate solar protection over the phone's lens during every partial phase — the same rule as any other camera.
- Don't hold a loose pair of eclipse glasses in front of the lens as an improvised filter — it's not a secure or reliable substitute for a proper filter matched to the lens.
Common Mistakes
- Trying a technique, filter or setting combination for the very first time during the actual eclipse
- Using the wrong filter size for the optic, or one that isn't properly secured to the front element
- Forgetting to recheck focus after locking it, especially if temperature or handling shifts
- Overexposing the corona or the crescent Sun by trusting automatic metering
- Running out of battery or memory card space partway through the event
- Leaving autofocus engaged continuously instead of locking manual focus
- Changing too many settings during the short totality window instead of using a prepared plan
- Spending the entire eclipse looking through a viewfinder or screen instead of experiencing any of it directly and safely
- Assuming a mostly covered Sun during a partial phase is "safe enough" to view or shoot without a proper filter — it isn't, at any percentage of coverage short of full totality
Final 24-Hour Checklist
- Local eclipse timing confirmed and saved offline
- Location confirmed as inside or outside the path of totality
- Weather forecast checked, backup location identified
- Solar filter inspected for scratches, pinholes or tears
- Camera settings tested and set to manual exposure and manual focus
- Batteries fully charged, spares packed
- Memory cards formatted and packed, spares included
- Tripod and remote shutter or timer packed
- Eclipse glasses packed for the photographer
- Alternate plan in mind if traffic, crowding or weather disrupts the primary site
Essential Eclipse Photography Gear
A short, practical list — not a shopping cart. Buy only what you don't already own, and confirm any product's current specifications and fit before ordering.
- Full-aperture solar filter — sized to your specific lens or telescope's front diameter. One purpose-built option for telescopes and long lenses is the Celestron EclipSmart Universal Solar Filter — see ORIVON's full solar filters guide for more options matched to different optics.
- Stable tripod — non-negotiable for anything beyond a wide-angle handheld shot. Any tripod rated for your camera and lens combination will do.
- Remote shutter release or self-timer — most cameras and phones include a built-in self-timer option if you don't own a dedicated remote.
- Memory card — bring more capacity than you think you'll need, and a spare.
- Spare battery or a power bank — cold mornings and long sessions both drain batteries faster than expected.
- Smartphone tripod adapter — if you're shooting on a phone and want to free your hands for eclipse glasses and timing.
ORIVON doesn't currently have a confirmed affiliate link for every category above — where we don't, we've kept the recommendation neutral rather than pointing you toward an unverified product.
Final Editorial Takeaway
The best eclipse photograph anyone takes on August 12 will come from preparation and practice, not from a new camera bought the week before. Test your filter, know your settings cold, and treat safety as the one non-negotiable part of the plan. For everything about where the eclipse falls and how to check your local timing, see ORIVON's complete eclipse guide, and track the rest of what's worth watching this month at ORIVON Sightline.
Frequently Asked Questions
Yes, for every partial phase. A dedicated solar filter must be mounted securely over the front of the lens or telescope, not the eyepiece. It can only come off during complete totality, and only if you are physically inside the path of totality.
Yes, though the Sun will appear very small without an optical accessory. A smartphone still needs appropriate solar protection over its lens during every partial phase — the same rule that applies to any other camera.
Only during complete totality, when the Moon fully covers the Sun's bright disc, and only from a location physically inside the path of totality. The instant any bright sliver of the Sun reappears, the filter must go back on immediately.
It depends on what you want: a wide-angle lens captures the landscape and the sense of place, while a telephoto lens of several hundred millimeters or more is needed to resolve the solar disc and corona in real detail. Longer lenses also demand a sturdier tripod and more practice.
Shoot in RAW with manual exposure and manual focus. Conservative starting points behind a solar filter are roughly ISO 100–200 with an aperture around f/8, adjusting shutter speed from there — but the exact exposure depends heavily on your specific filter, so test it beforehand.
Yes. Concentrated, unfiltered sunlight passing through a lens can damage a camera's sensor and internal components, the same way it can damage an eye looking through an unfiltered telescope or binoculars.
Yes — a partial eclipse is still a worthwhile photographic subject. The Sun will never fully disappear, so a proper front-mounted solar filter designed for optical equipment stays on your camera for the entire event, with no moment where it's safe to remove it.