Deep Sky Imaging Guide for Beginners
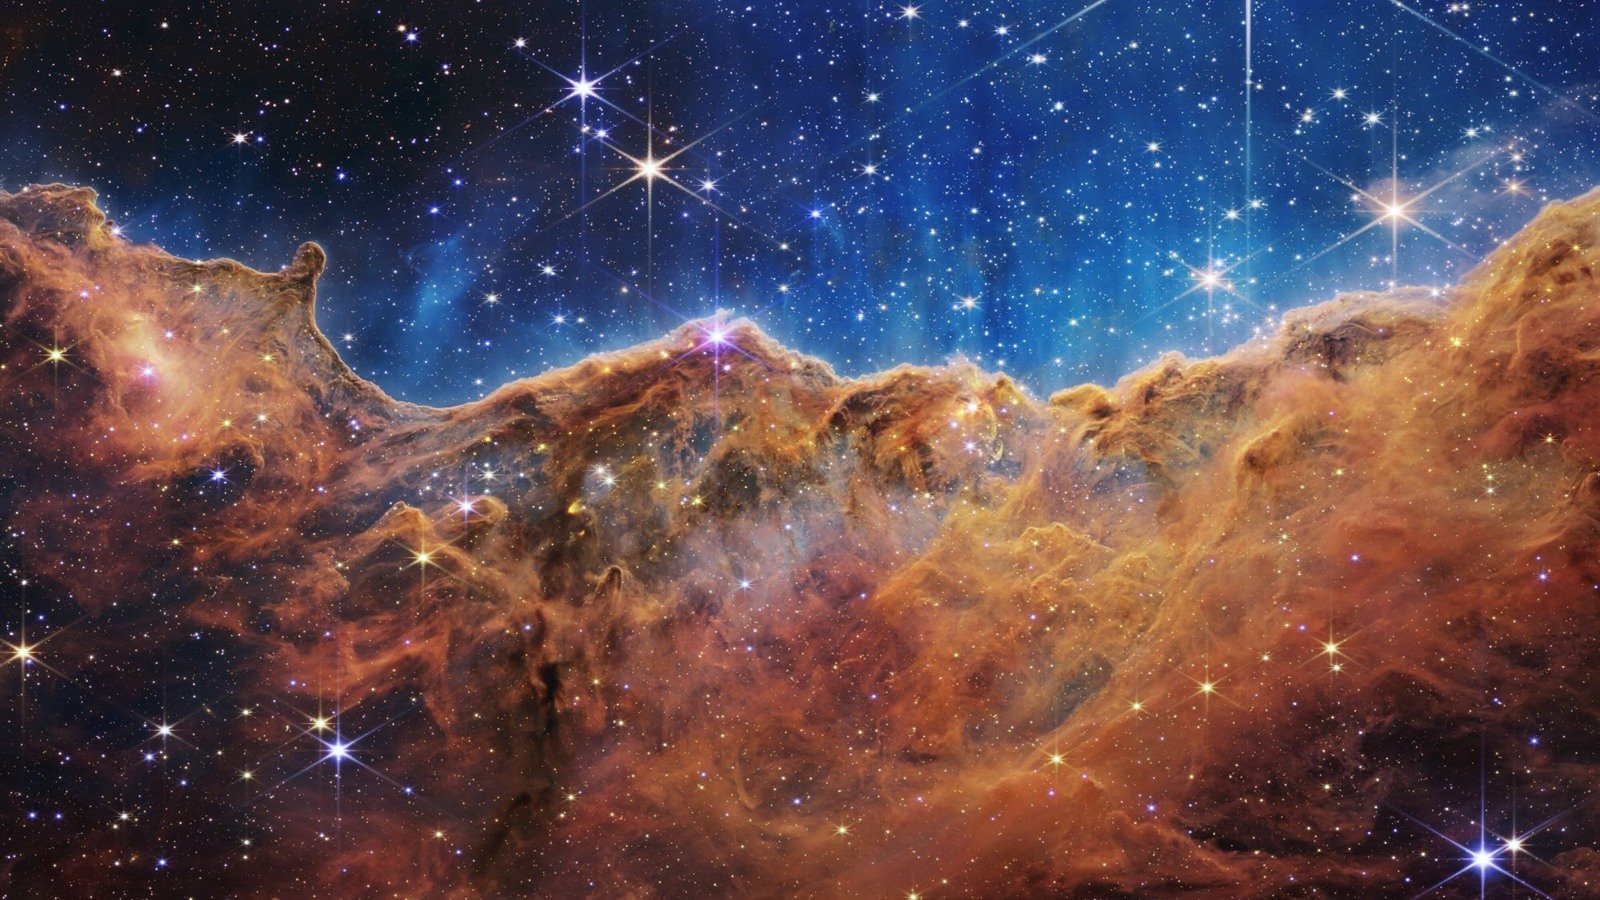
Credit: NASA, ESA, CSA, STScI
The Whole Pipeline, at a Glance
Deep sky imaging can feel overwhelming from the outside because it's actually several distinct skills stacked together: choosing a realistic target, capturing enough usable data on it, calibrating and combining that data, and finally processing it into a finished image. Each stage has its own learning curve, but understanding how they connect — and where beginners typically get stuck — makes the whole process far less daunting.
Step 1: Choose a Target That Matches Your Gear
Not every deep sky object is a reasonable first target. Bright, large objects like the Orion Nebula or the Pleiades reward even modest equipment, while faint, small, or low-surface-brightness targets punish mismatched gear and inexperience alike. Matching target difficulty to current equipment and skill level — rather than chasing the most impressive-looking published images — is what keeps early sessions from feeling like failures.
Step 2: Capture Enough Usable Data
A tracking mount is the non-negotiable starting point; without one, exposures longer than about 15–20 seconds start trailing. From there, capturing dozens of individual exposures — rather than a handful of longer ones — is generally the more forgiving approach for a beginner, since it's more tolerant of the occasional ruined frame from a passing cloud, plane, or tracking hiccup.
Step 3: Calibrate Before You Stack
Dark, flat and bias calibration frames correct for sensor noise patterns, vignetting, and dust spots that would otherwise remain baked into the final image. It's a step that's easy to skip when starting out, but reviewers and experienced imagers consistently point to proper calibration as one of the higher-leverage habits to build early, since it noticeably cleans up the stacked result before any manual processing begins.
Step 4: Stack for Signal-to-Noise
Stacking combines many calibrated exposures into a single, cleaner integrated frame, reinforcing real signal while averaging out random noise. This is covered in more depth in our stacking guide, but the short version: more total exposure time, spread across more individual frames, produces a cleaner starting point for processing.
Step 5: Process Without Destroying the Data
The stacked integration is still not the finished image — it typically looks flat and underwhelming until it's stretched, color-balanced and sharpened. This is where free tools like Siril and GIMP, or dedicated software like PixInsight, come in, covered in full in our post-processing software guide. The goal at this stage is enhancing what the data actually contains, not manufacturing detail that isn't really there.
Where Beginners Commonly Stall
- Choosing an ambitious, faint target before building experience on forgiving, bright ones
- Skipping calibration frames to save time, then fighting noise and vignetting in processing that calibration would have prevented
- Judging a single night's results against multi-night, many-hour published images
- Over-processing a stacked image — pushing stretch and sharpening far enough to introduce artifacts that weren't in the original data
Frequently Asked Questions
It varies widely, but most imagers report a noticeable jump in quality within their first few sessions once calibration and stacking basics click — target selection matters as much as raw skill early on.
A camera lens on a tracking mount is a perfectly valid starting point for large, bright targets. A telescope becomes more valuable once you're chasing smaller, fainter or more detailed objects.